In the list of tables that appears, click on the link "Add" located in the top menu. Below is the list of fields and how to fill them:
Once important fields are filled, your table is created. Then click save in the top of the page menu (and not save and publish if you just created your table)
Fields are used to collect information from the website or directly from the backend. Information that is then stored in the table (created previously).
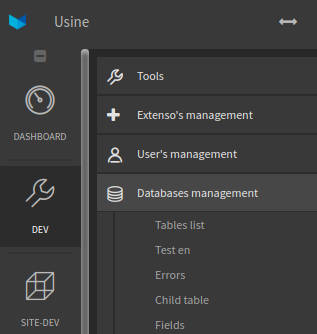
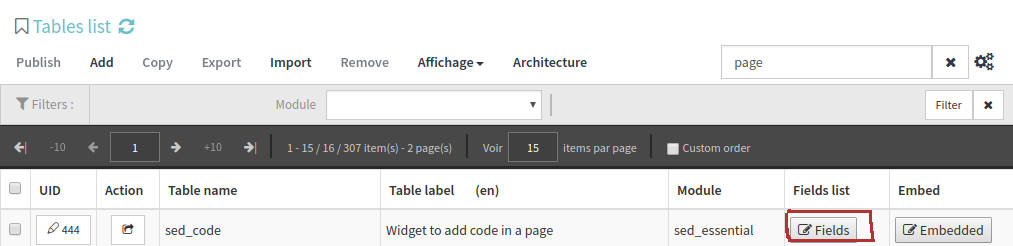
To create a new field, click on Dev> Database Management> List of Tables. Find your table and click the "Fields" button (see image above), and then "add" in the top menu. These are the main elements.
Field Name : Choose the name of the field. This is used by the system to select or use the field. This name SHALL NOT contain spaces, accents, special characters, etc. Example of a field name: my_new_field
Field label : The field label is actually the name you want to use to recognize your field. This one has no restriction, it can contain all types of characters.
Tabname : If you want to display your form in two or more tabs, write here the name of the tab where this field will be displayed. Leave this field blank if you do not want to have tab view.
Display on index ?: If you want to display this field in the results list of your table. Example on the image below the fields: "UID, Action, Statut du ticket, Email et Type de demande" are on the index page.

Active : if you want to activate your field
Add as as filter? By checking this box you allow a search on this field. In the example above, if "add as filter" is checked for "Request type", you can search through in this field.
Multi-language field: if your field is a multi-language field
Database format: To choose the format
Field length in database: Default on 255, but maybe changed
Display format : How your field is displayed in the form (check box, drop-down menu, multiple selection, file download, etc.) You can choose to import data from another table or create a new list of element. (drop-down menus for instance). Depending on the choices you made, additional fields may be displayed.
You can use different kind of validation system. For example, on an email field it's possible to apply an email validation. It is also possible in this tab to insert regular expressions, to define minimum and maximum values etc ...
You can choose to add an explanation for your field. Two different modes are available. Field Information which is displayed under text fields only and help which is represented as an icone with a tooltip information. This one can be added to any kind of field.
Configure the index view
You can manage different display options. For instance, define whether a field controls another one or is controlled by another one. (For example, if you want to display this field only when a given value is selected in another field.
Here you can add javascript functionalities. Can be used to add more validation options for example.
Manage user role for this field.