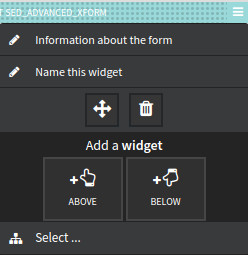
Click on the wigdet burger menu to edit it. Then click on "informations about the form" or any other menu you can see. A new window will appear. This is where you can configure your widget to display the table you've created before.
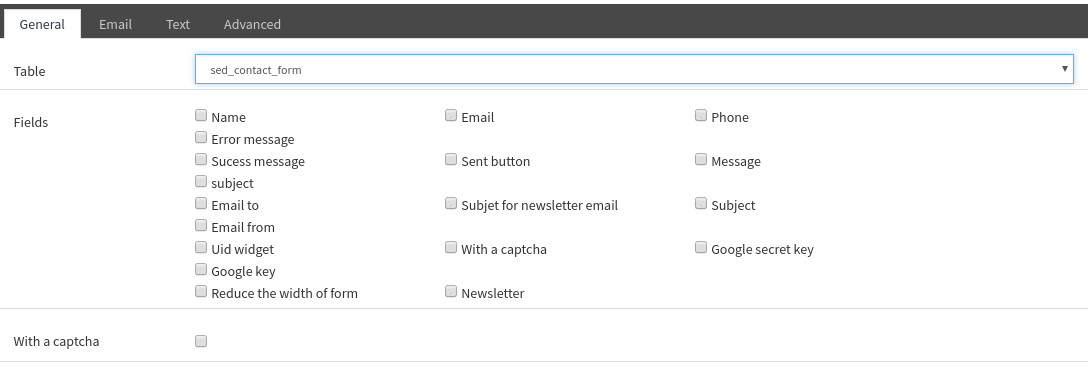
General Tab
Fill in the following fields:
- Table : Select from the drop-down menu your table
- Fields : You can select the different fields you want to display. Note that, even if a field is defined as mandatory in your table, you can decide not to display it in your widget. This option allows you for example to provide features in your table for the future without having to display them in xform if you are not ready yet.
- Captcha : To display or not a captcha. A captcha is a system allowing to ban with more or less success automatic scripts. The captcha service used by xform is Google Recaptcha. Very popular, it's free. To fill in the fields provided in xform, you need to create a recaptcha account and from your dashboard pick up the information you need for Xform.
Email tab
- Email from : fill in the sender
- Email subject : fill in the email subject
- Email to client : choose whether or not to send an email to the client. If yes fill in the following fields:
- Field that will contain client email : Choose the email field.
- Email template from mailbuilder : Choose the template
- Email to admin : choose whether or not to send an email to the admin. IF yes, fill in the following fields:
- Admin Email : Fill in the admin email (if you have two or more admins, separate the emails with commas).
- Email from for Admin : The admin email sender
- Admin Email template from mailbuilder : Choose the template for admin emails
Text Tab
In this tab, you need to fill in the message which will be displayed to users after validation.